Football season is finally here and I couldn't be happier about it! One of my favorite things about football season is tailgating! I love making all o the food and setting it all up for friends and family to enjoy. These ham and cheese sliders, or 'Ham Delights' as we call them are super easy to make and so delicious! They are great for a crowd, and also make great leftovers if heated up in the oven or air fryer! I'll share the recipe below: 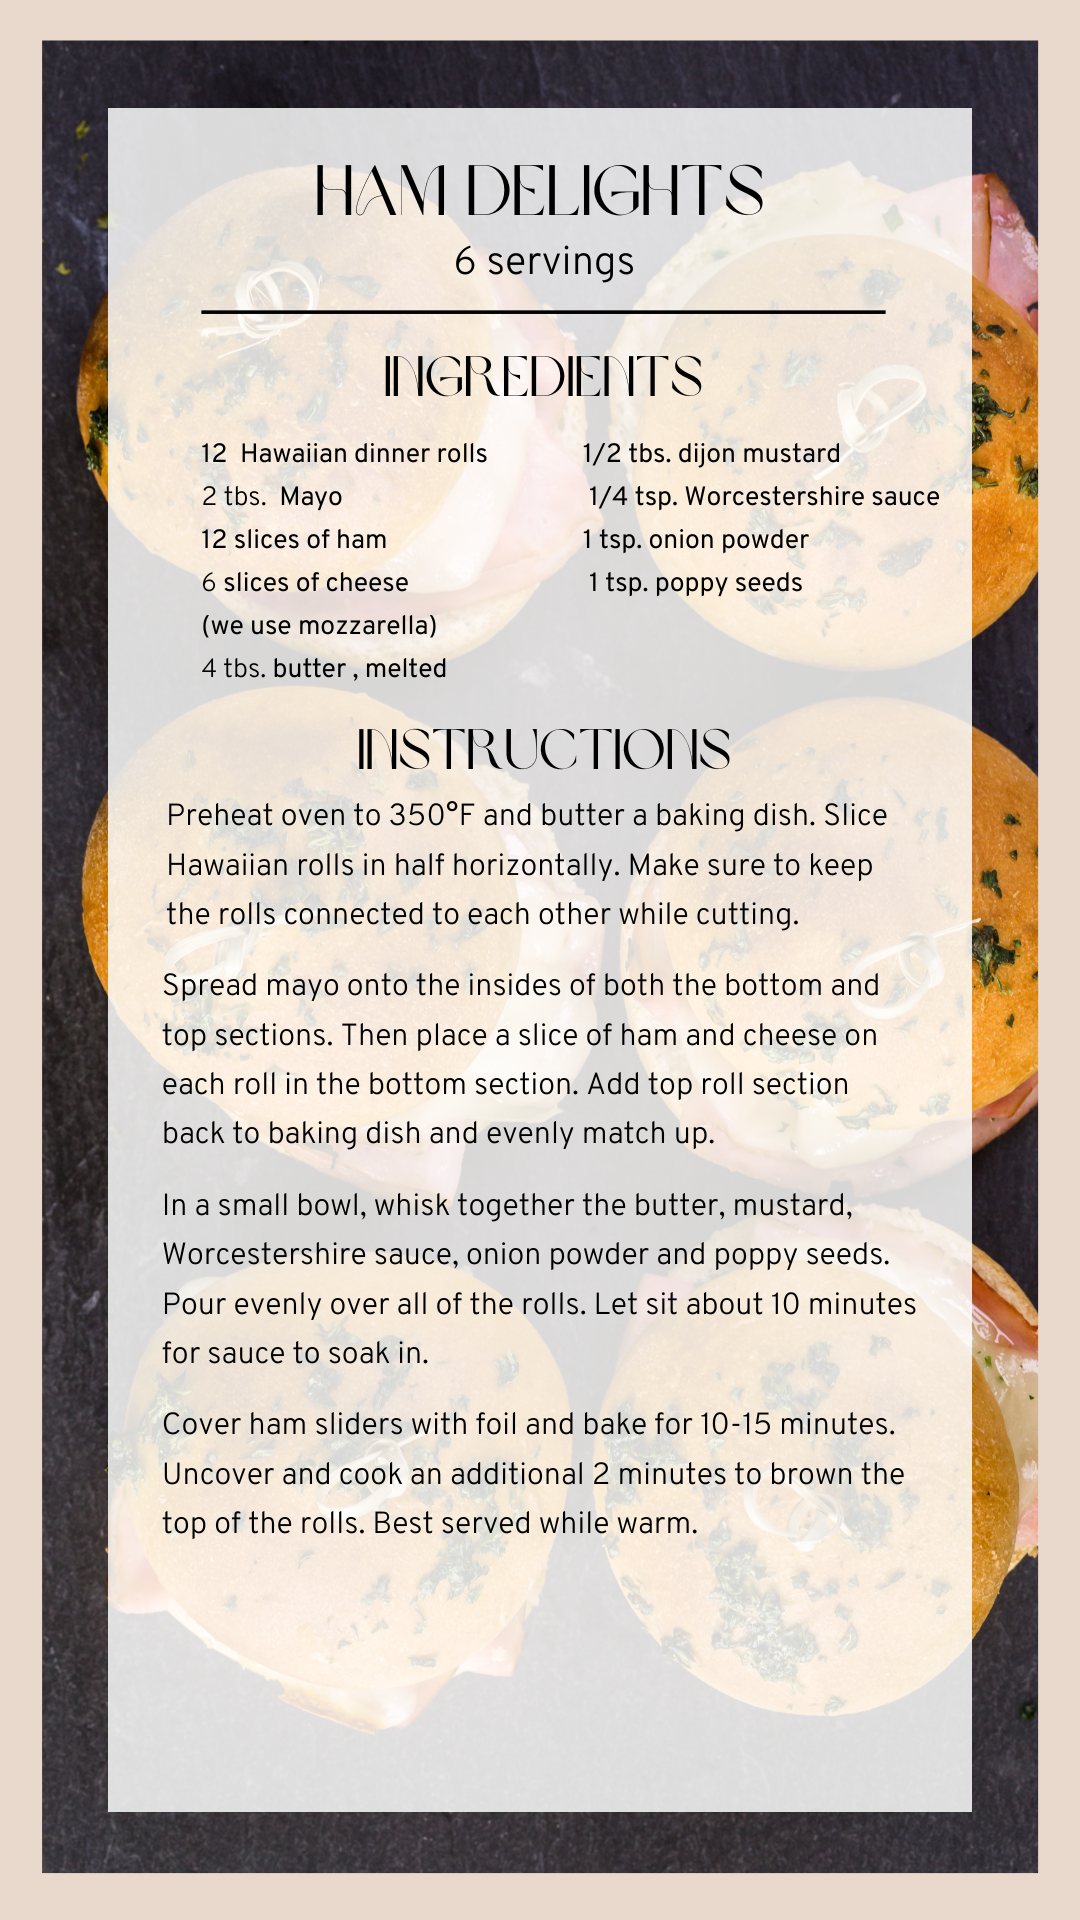 Check out my latest Reel here!
0 Comments
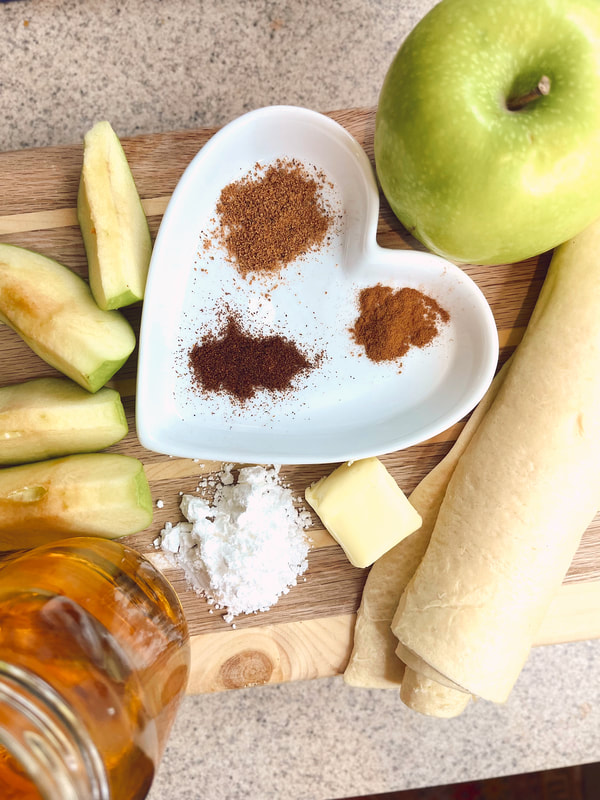 There is nothing better than the smell of a fall dessert baking in the oven! I love to bake, and when Fall arrives that's typically when I ramp up my baking because I love the smell in the house! Despite the fact that it is still 90+ degrees in Charleston, I have already started saving recipes and making them on the weekends! The most recent recipe I made - Apple Pop-tarts! I really want to do this with a pumpkin filling also! This recipe is super easy and takes about 30 minutes overall to make! 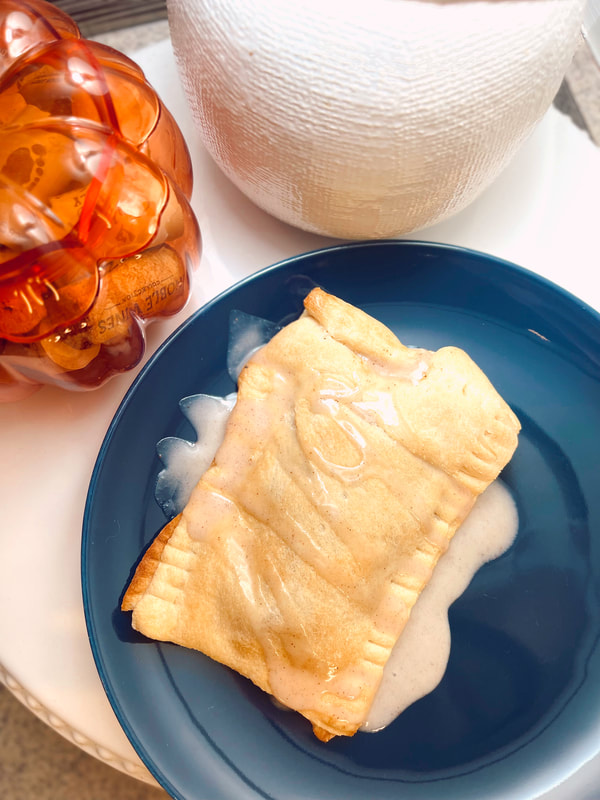 First, you'll want to gather all of your ingredients, which I will list below:
For the icing:
Cooking the apples: Cut up your apples into small pieces and add them to a pan with all of your spices (nutmeg, cinnamon, and cloves), butter, and apple cider or apple juice over medium-low heat. Cook for about 10 minutes with a lid on until apples are warm and soft. While apples are cooking, roll out your pastry dough. Disclaimer, I sent Blake to the grocery store and he purchased crescent dough by accident, and these were still delicious! You'll want to roll out your dough on a slightly powdered surface, and then cut into individual rectangles if you want to! You'll do the same thing with the top piece of dough as well. You can also make one big pop tart and cut after baking! Once you're apples are warm and soft, you'll make the apple butter. Scoop the apple pieces into a food processor or blended and blend until you reach an apple sauce like texture, or until there are no apple chunks left. 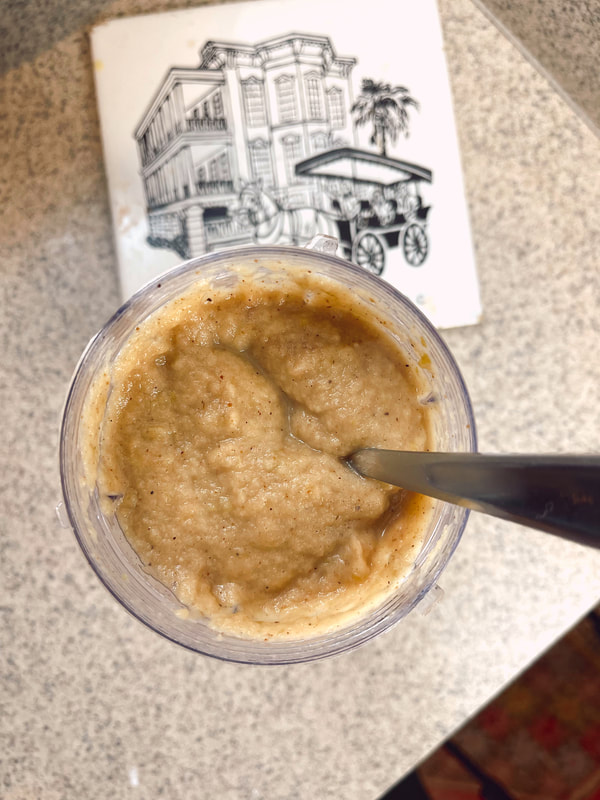 Apple Butter Finally, you're going to assemble the pop-tarts. Spread the apple butter onto your pastry dough, leaving about an inch around the corners to give you room to seal the pop-tart. Carefully place the top piece of dough, and use a fork to seal the edges! Poke a hole into the top of the dough to allow heat to escape when baking!
Bake in the oven for 10 minutes at 400° or until golden brown! If you make one large pop-tart, you'll need to add a little extra time for the pop-tart to bake! Top with icing! Make sure your pop-tarts have cooled before putting on the icing or it will melt right off. The icing takes about 10 minutes to set! Enjoy! If you make this recipe, leave a review and tag me on Instagram!
If you follow me on Instagram, then you know I've leveled up my skincare routine in preparation for my wedding in March! I want to look and feel my best, so I decided to invest a little more in skincare up until then. Once the wedding passes, I'll probably scale back my facials, just to save some money.
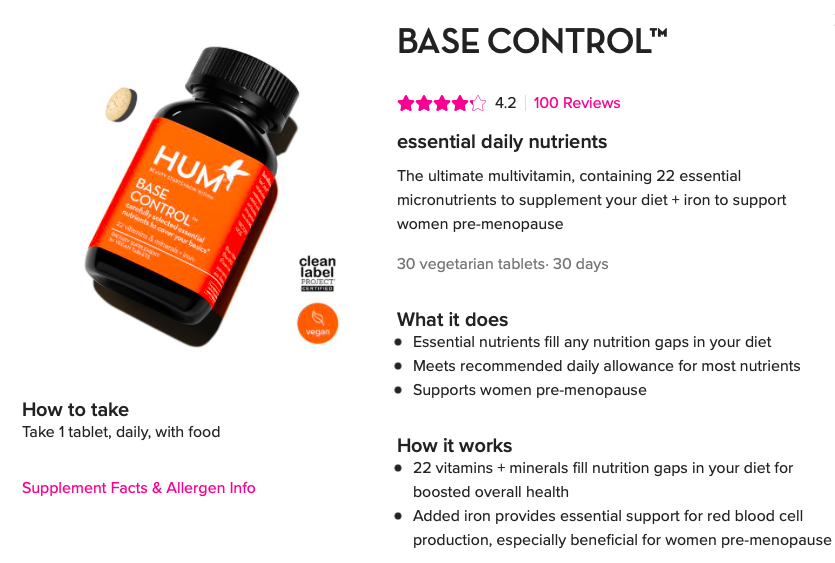
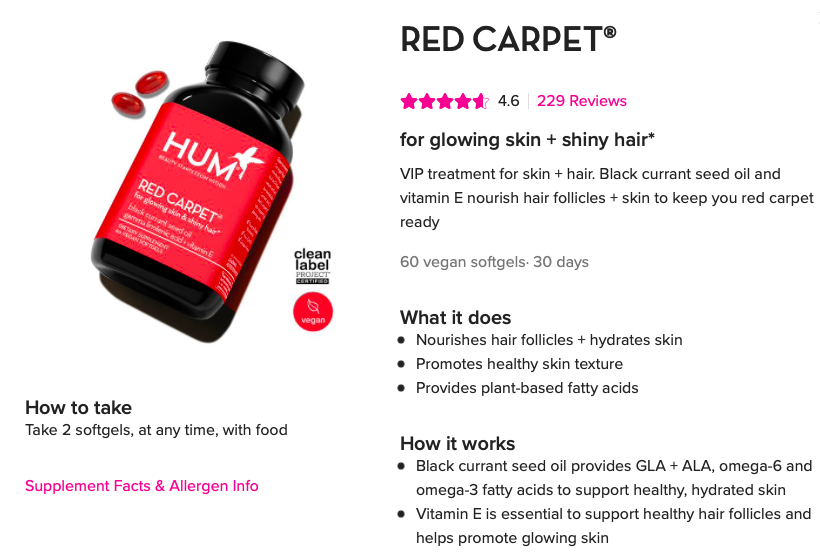
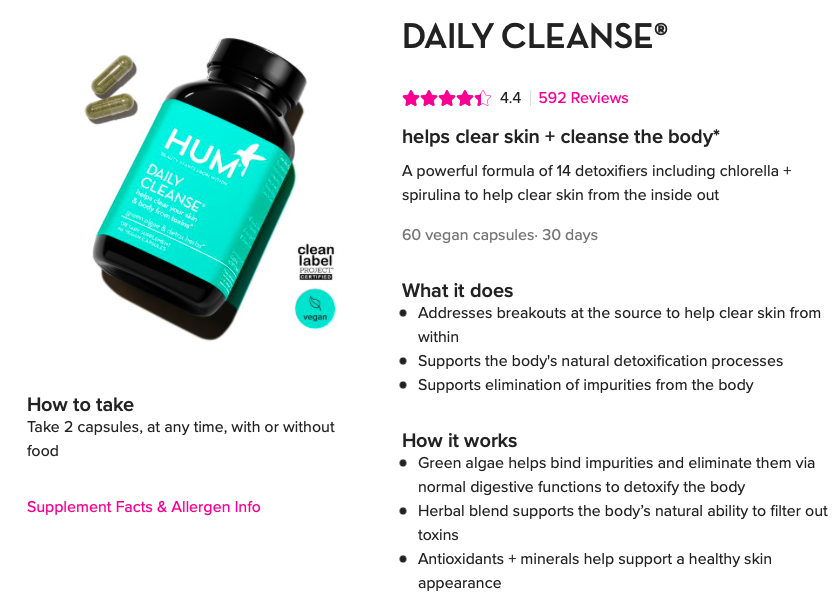
I'm going to give you little background before I get into what I am currently using, and seeing benefits/results with! Growing up, I struggled with acne. While I thought I had the worst breakouts ever, looking back I realize I really didn't have it as bad as some of my siblings did, but I have always taken skincare very seriously. I started going to a dermatologist around the age of 13 and was put on Doxycycline, an antibiotic that helps prevent breakouts. I was also put on Differin Gel, a topical you can actually purchase at Target now. That helped, but didn't completely take away my breakouts because, hello... I was a teenager going through puberty, but I didn't understand that then, so I kept trying different things until I was happy. Something that really helped me at that age, and I believe still helps me, was taking dairy out of my diet. I stopped drinking milk, and tried really hard to reduce the amount of dairy I was eating. Now, I am lactose intolerant for the most part, so I don't struggle keeping it out of my diet anymore. Later on in high school, I was told I shouldn't be on Doxycycline because it is an antibiotic, and honestly, I don't think it was working anymore. My new dermatologist decided to put me on Spironolactone instead, plus a topical cream called Tazorac for night time and Aczone for day time. I am still currently using the topicals, but recently decided to stop taking Spironolactone (after over 10 years of being on it), and replaced it with vitamins to see how my body would react and so far it's been great! I had a bunch of scars from my teenage years of dealing with acne, so a few years ago, I decided to get three treatments of VIVA, basically micro-needling, which increases collagen production, therefore taking away acne scars, and boy did it work! I was so happy the $1,200 I spent wasn't for nothing! Everything was great until I had to come off of the birth control pill because I had blood clotting issues in my right leg, which resulted in having to have 3 veins removed from my leg. Anyways, all of that being said, hormonal acne quickly started, so I had to figure out what to do. Below I am going to share the HUM Nutrition vitamins I am taking that I truly think help cleared up my hormonal acne! Get $20 off your first box of $39+ through this link. 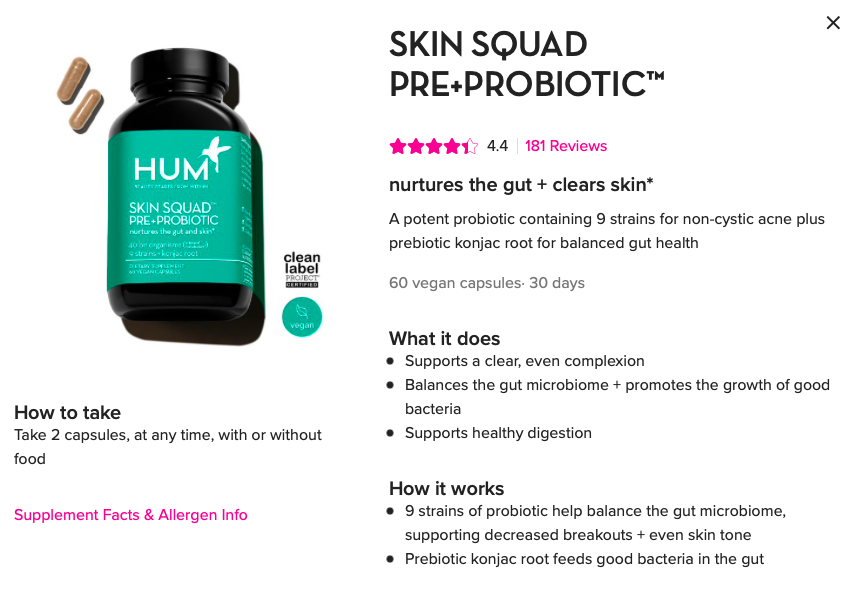
Now, let's get to the whole reason why you clicked on this blog post! My daily skincare routine is below, and you can shop for each product by clicking on it, on the graphic! I still use the topical creams I mentioned above too, but those require a prescription. I highly recommend going to see a Dermatologist to be prescribed a Retinol! If you are in Charleston, check out theCenter for Regenerative Medicine in Mount Pleasant. I see Doctor Ella once a month for a HydraFacial, plus I get all of my SkinCeuticals products from her and she does my Botox! She carries all of the SkinCeuticals products I use, and she will ship, if you'd like to support local!

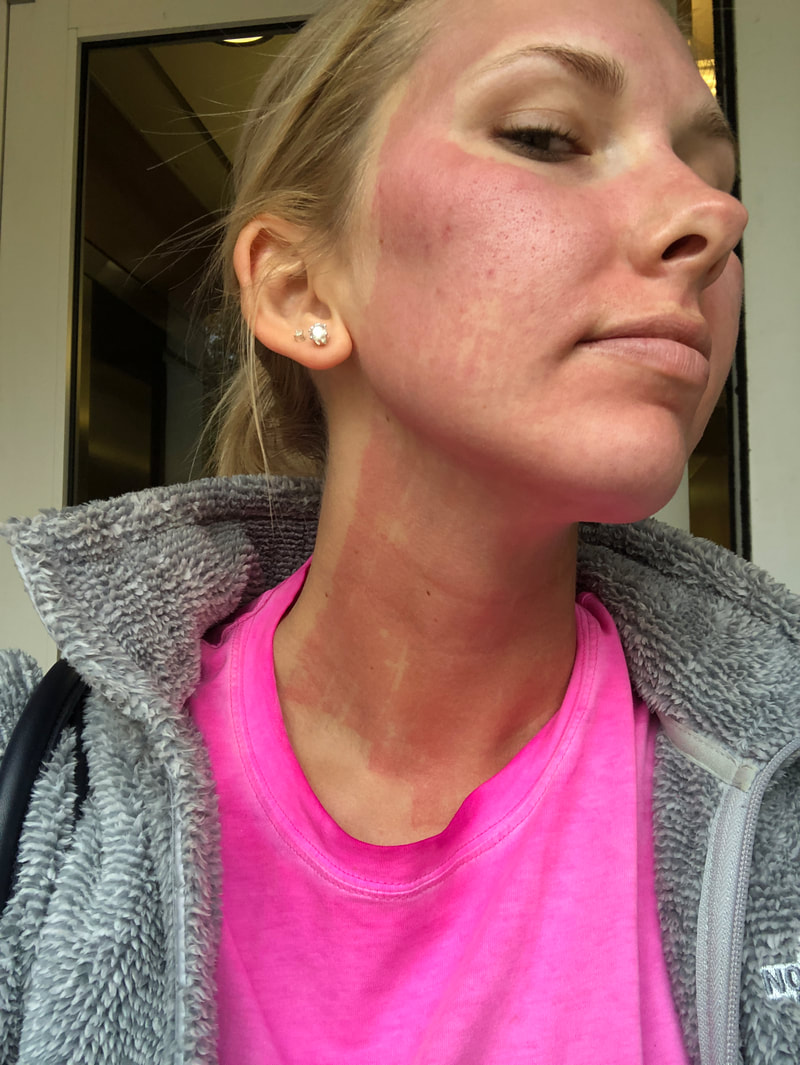
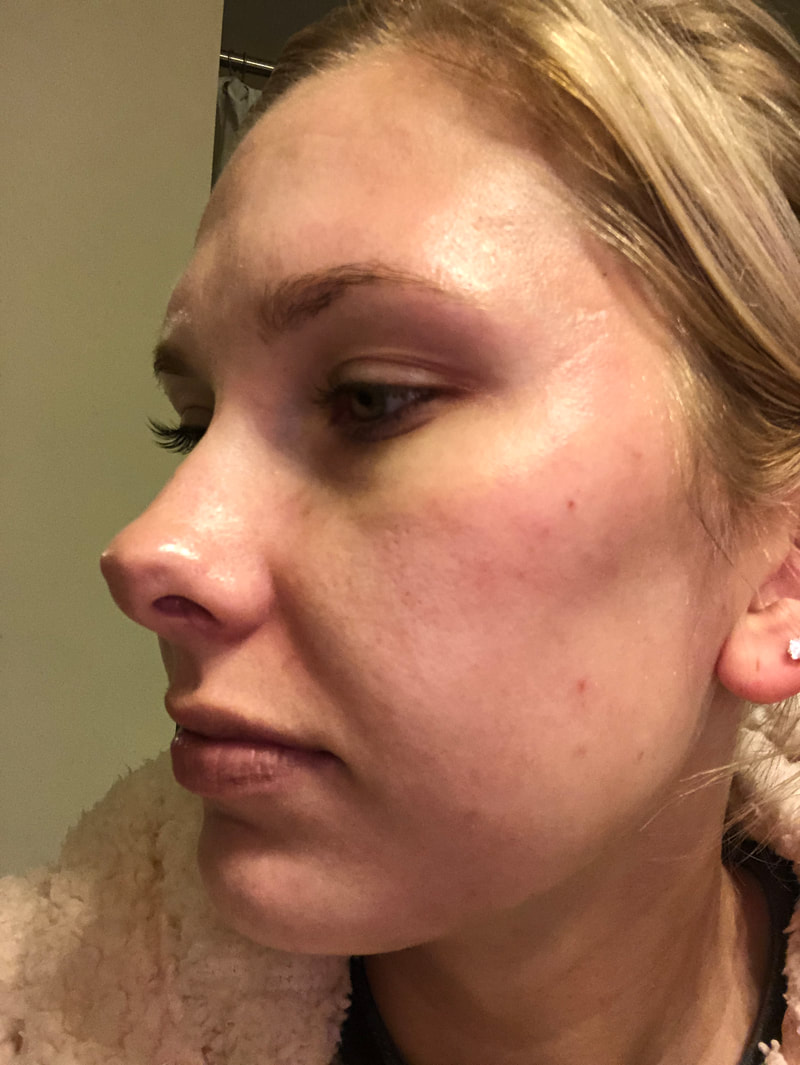
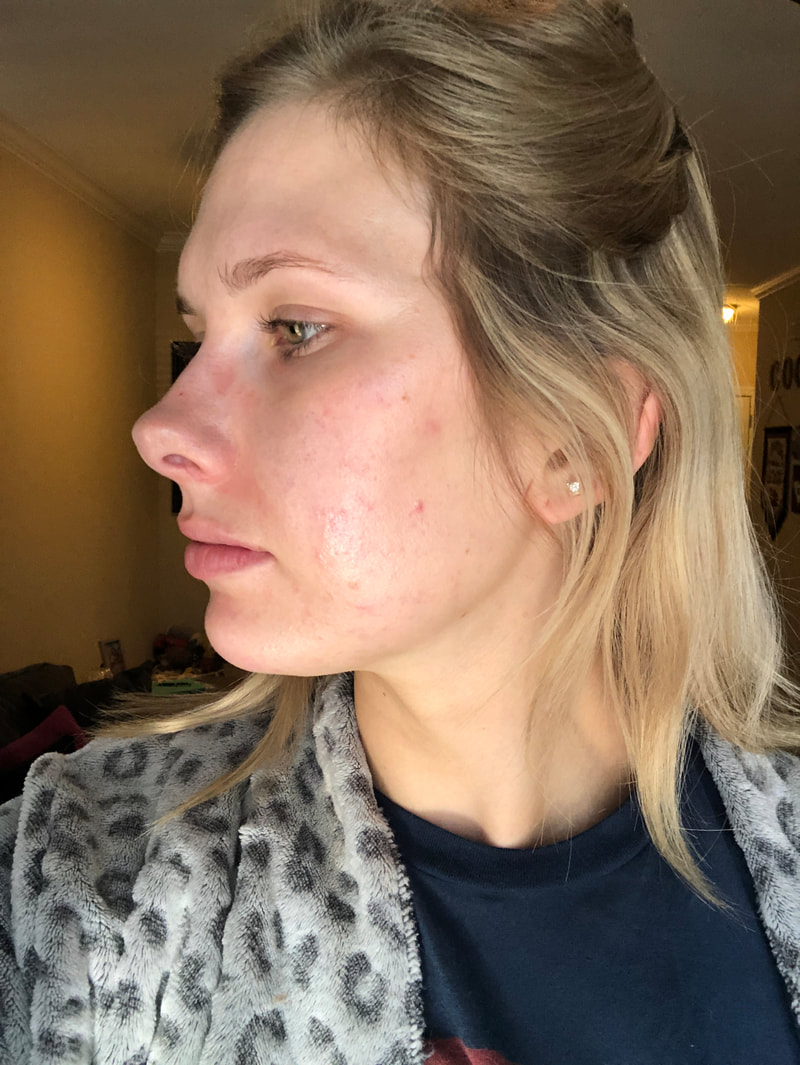
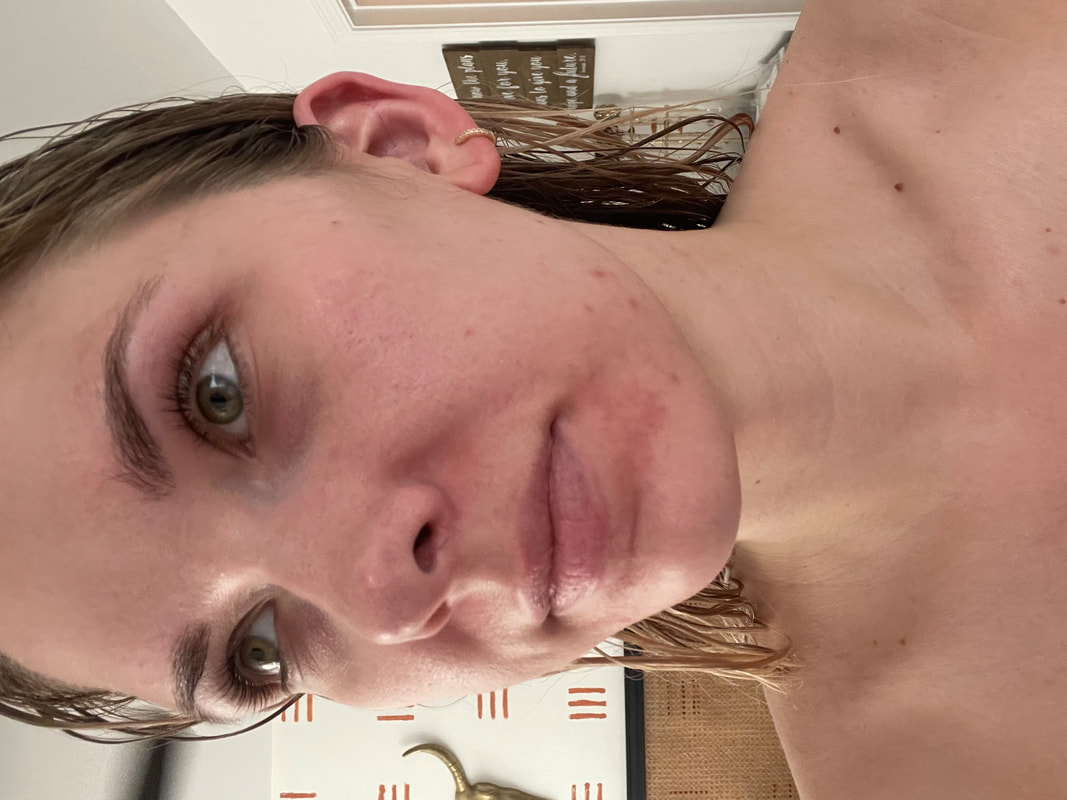
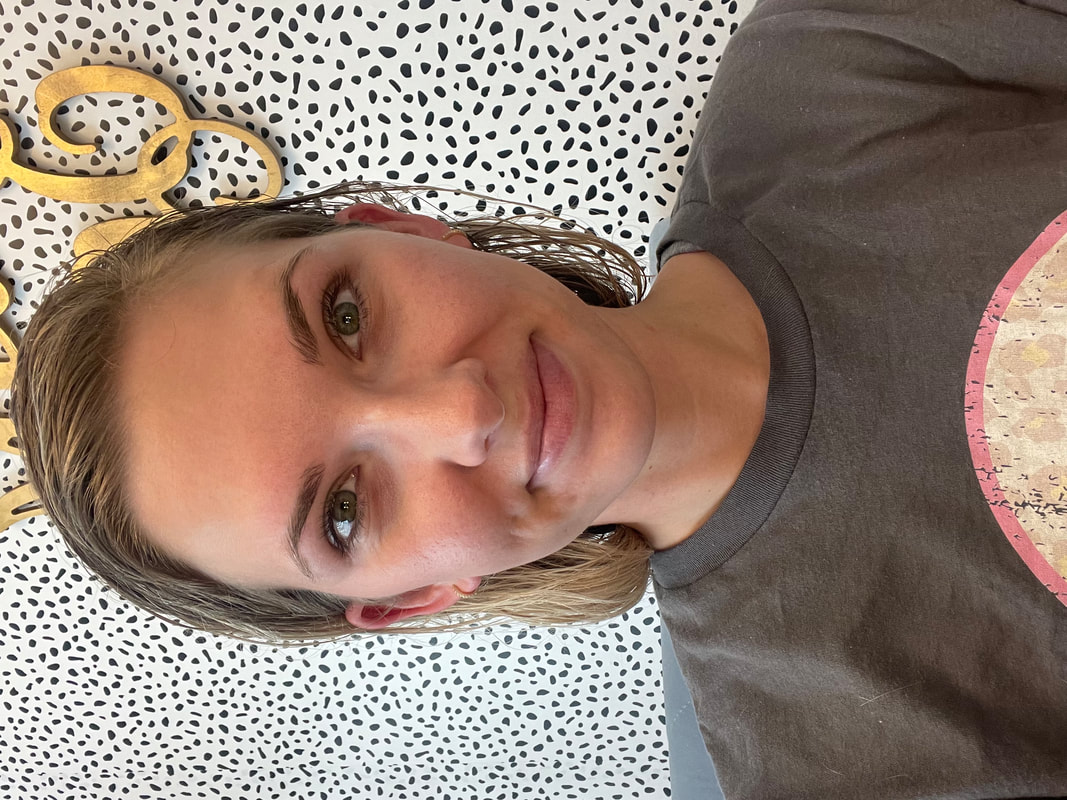
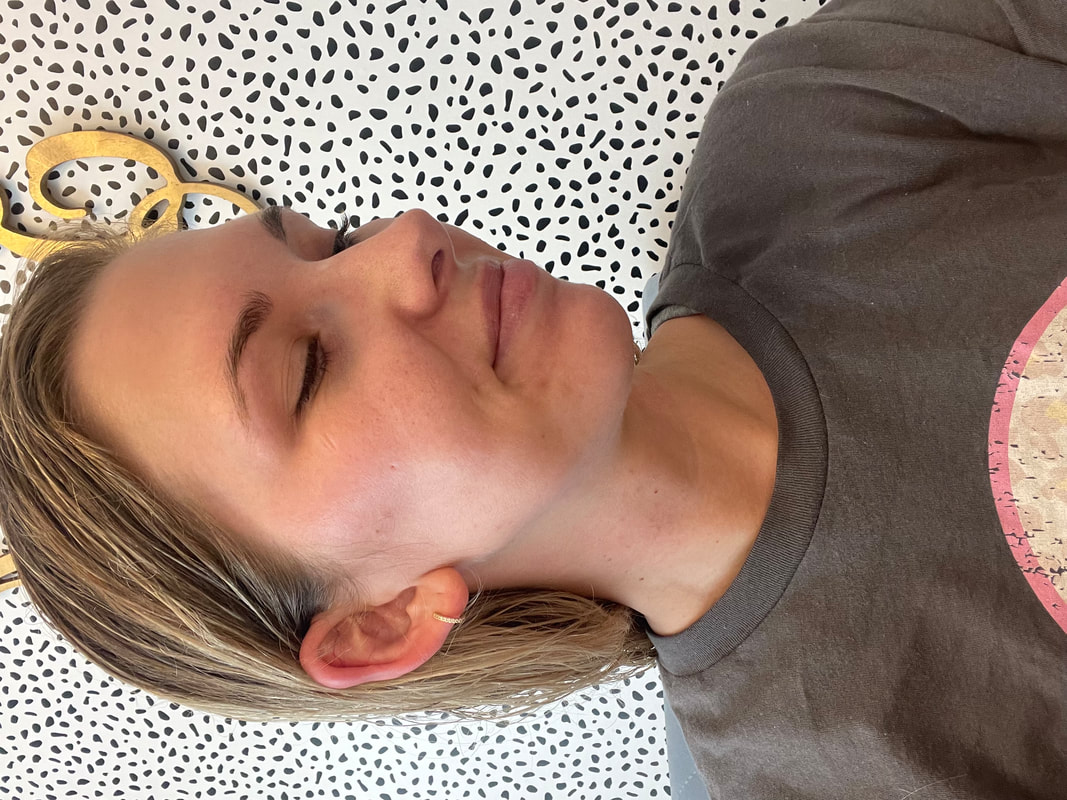
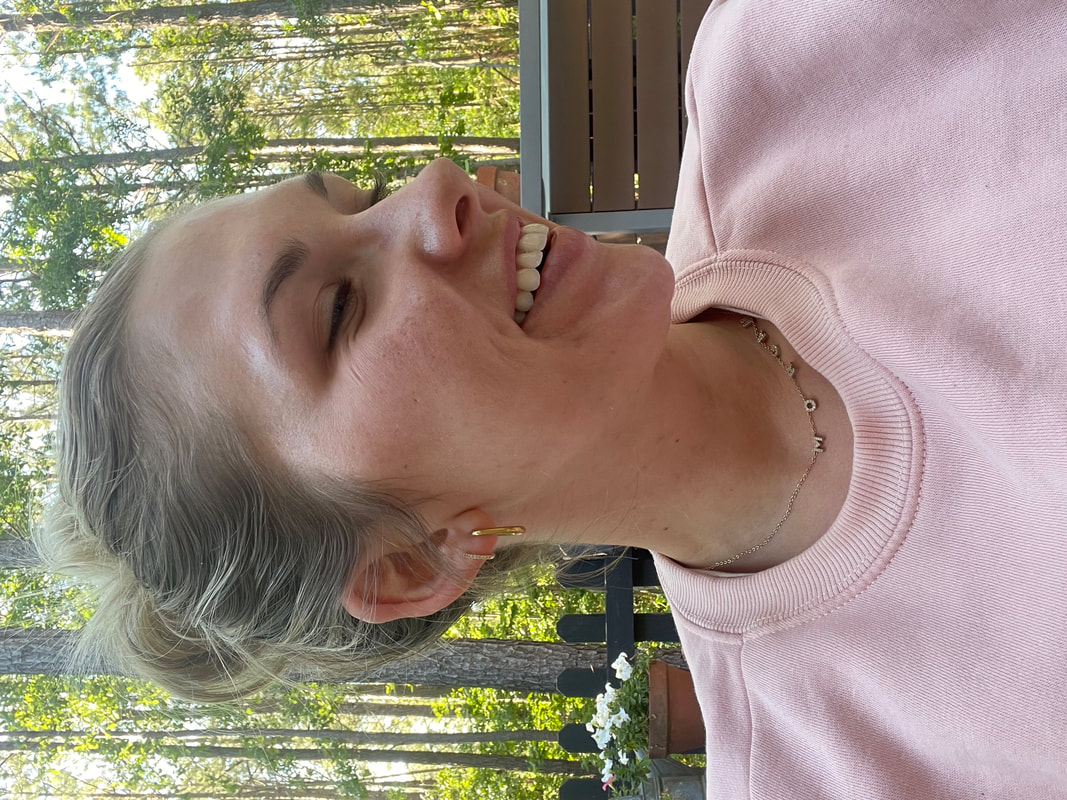
I have truly never been so happy with the appearance of my skin! I work really hard to make sure it is glowing, but it is so worth it! I'll share a few progress photos of my skin below!
Blake and I decided to start a garden this summer, and one of the crops that really took off -cucumbers! We have had so many grown, we've given them to neighbors, and I've eaten a ton! Then it dawned on me, I should make homemade pickles!
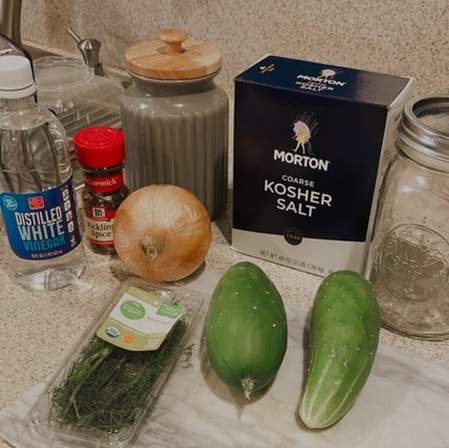
Dill pickles are one of my favorite low calorie snack! The crunch and sour flavor are delicious with a sandwich for lunch! They are super easy to make and require no jar sterilization. The recipe below will make 2 large jars that can last in your refrigerator for up to a month! Below is the list of ingredients you'll need!
The first thing you'll want to do is pour the water, vinegar, salt and sugar into a saucepan. Set to medium-high heat and wait for it to simmer for 15 minutes. Set aside too cool. While waiting for that to simmer, wash your cucumbers and cut into spears. Next, fill your jars with as many cucumbers spears you can, and then you'll add your dill, garlic and pickling spices. Lastly, you'll pour the pickle brine you made on the stove overtop of the pickles. Make sure it has cooled down though, or you'll end up with mushy pickles! Put your jars in the refrigerator for 24 hours before indulging! Enjoy! Exact measurements to split between two jars:
PRO TIP: The best jars to use are wide mouth 1-quart jars. The more narrow jars are make it hard to pull your pickles out! I am so excited to finally share with you all of the details from our Bald Head Island vacation! I'll share everything from restaurants and coffee shops to things you can do on this adorable little island!
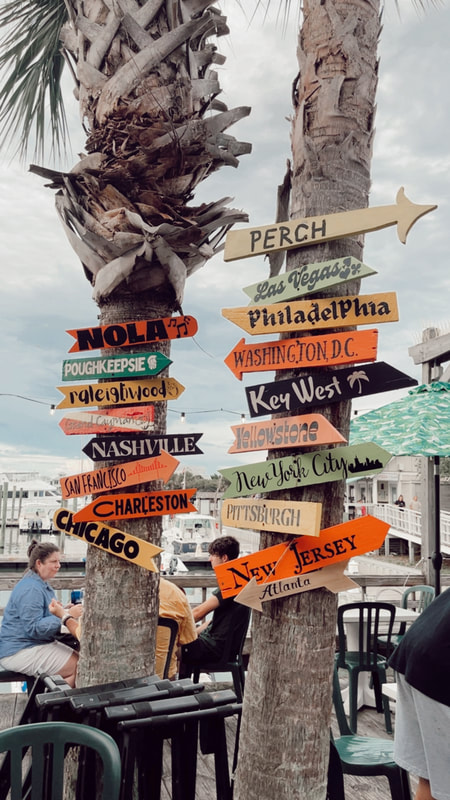
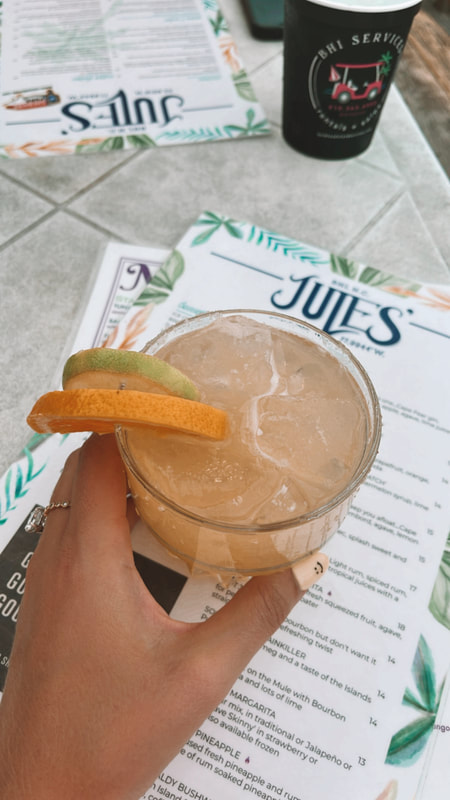
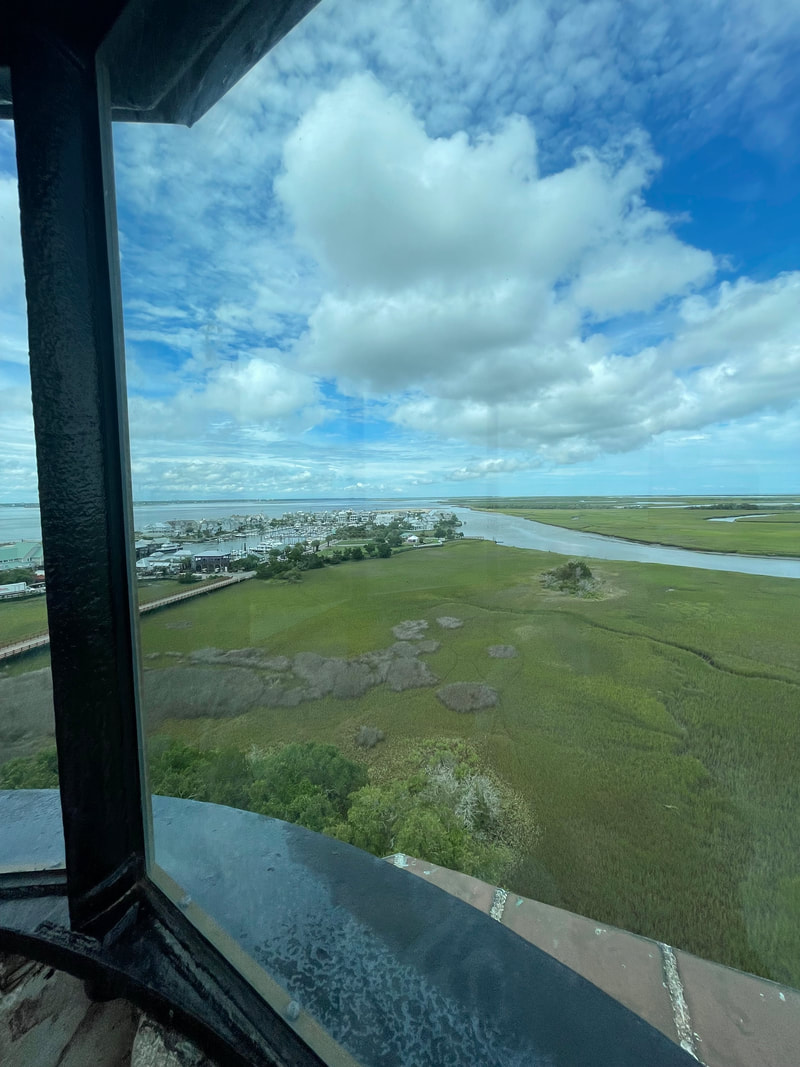
First, let's chat about the arrival process. In order to get on to the Island, you'll have to buy tickets for the ferry which runs just about every hour, but double check here before arriving! My biggest tip for arrival is to make sure you have packed strategically. You'll see a lot of families travel with big storage bins, which you can buy once you get there, but they are definitely cheaper at Walmart if you plan ahead! I always pack in a roller suitcase, plus we brought a Yeti cooler full of food and snacks because there is only one grocery store on the island and they are not always fully stocked, plus it's expensive! Your luggage can be dropped off to be loaded and unloaded off the ferry for you, or you can carry your luggage, but it is not recommended. You can shop all of my travel must haves on my Amazon storefront by clicking here! You'll want to schedule a pick up from the Bald Head Island trolley once you arrive if the place you're staying includes a golf cart in your rental, or rent a golf cart. Either way, a golf cart is your only form of transportation, which is one of my favorite things about the island! There are two options for where to stay on the island! You can stay in the BHI Inn, which I did with my family when I was little! It's super cute, but if you have a large group, I highly recommend renting a beach house. Check out all of your options here! My family likes to pay for a temporary club membership, that way we have access to a pool, plus fine dinning restaurants. We have been temporary members at both the Bald Head Island Club, and the Shoals Club, but I prefer the Shoals Club! This past trip we really enjoyed our dinner at Aqua! The food was delicious and the drinks were refreshing! I highly suggest the Sumer Pesto Linguine! There are 12 different places you can enjoy a meal while on the island. Included in those 12, are two coffee shops. I personally enjoy Sandpiper coffee and ice cream. The specialty coffees are delicious! I really wish we had a Sandpiper coffee shop in Charleston! We always grab dinner at Jules' while on vacation as well. They have lots of options, and a great kids menu. I also really enjoy the pizza from The Wisp. When it comes to things to do on the island, it's pretty much all outside, besides shopping of course! You can rent bikes, surfboards, paddle boards, kayaks (single or double), and canoes. You can also take surfing or kiteboarding lessons or book kayak and surf fishing tours! We rented paddle boards last summer, but this summer, I decided to get as much beach and pool time as possible! Most beach house rentals have beach chairs, but you can also rent beach chairs if you need to. I highly recommend going to see Old Baldy if you have kiddos with you! We always went up the historic lighthouse as kids, and I went back for the first time in over 10 years this summer, and still enjoyed the view! Heads up though, it's 108 steps! The lighthouse is North Carolina's oldest lighthouse and one of three that once graced BHI! I won't elaborate too much on shopping just because there are only a handful of stores, and I suggest venturing into all of them! My favorites are East Beach Surf Shop, Silver Peddler, and Island Passage! I absolutely love Bald Head Island, and think it is the perfect spot for a family vacation or a getaway with your other half! My biggest advice when traveling to the island is checking out baldheadedisland.com! The website is beautifully put together, and should answer any questions you may have, however don't hesitate to email me if you have any other questions that I may be able to answer! I hope this blog post helps you plan your trip to Bald Head Island! Have fun! You can shop all of my Bald Head Island vacation outfits on my Liketoknow.it storefront by clicking here! |
Blog Posts:
All

My favorite fashion is affordable and comfortable! My hope is to empower women through affordable fashion & finds, but also encourage a sprinkle of a splurge because I believe we all deserve to treat ourselves every so often! I want to the girlfriend you never knew you needed! Thank you for stopping by!


 |